Connect Webhooks with Quizify
Integration
8 Min Read
Learn how to connect webhooks with Quizify to automatically send funnel submission data to any external endpoint in real time without any coding knowledge.

Webhooks in Quizify allow you to automatically send funnel submission data to an external endpoint in real time. When a user completes a funnel, Quizify triggers a webhook and sends a structured JSON payload containing submission details, responses, metadata, and funnel information. This allows you to process submissions, build custom integrations, or sync data with other systems instantly.
Step 1: Create Your Funnel
Create and configure your funnel in Quizify to collect responses. Whenever a user submits the funnel, Quizify triggers a webhook event and sends the submission data to your configured webhook endpoint.
Step 2: Connect the Webhook Integration
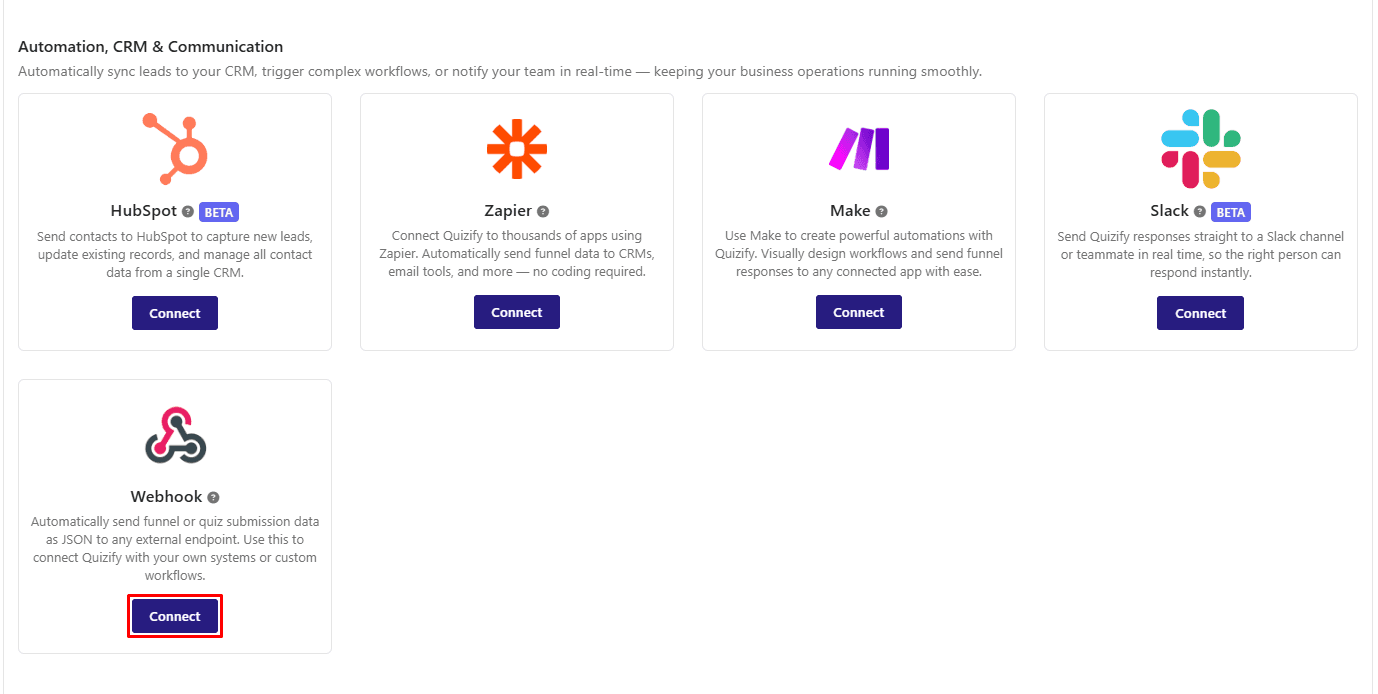
Go to the Integrations section in your Quizify dashboard.
Under the Automation, CRM & Communication category, locate Webhook and click Connect.
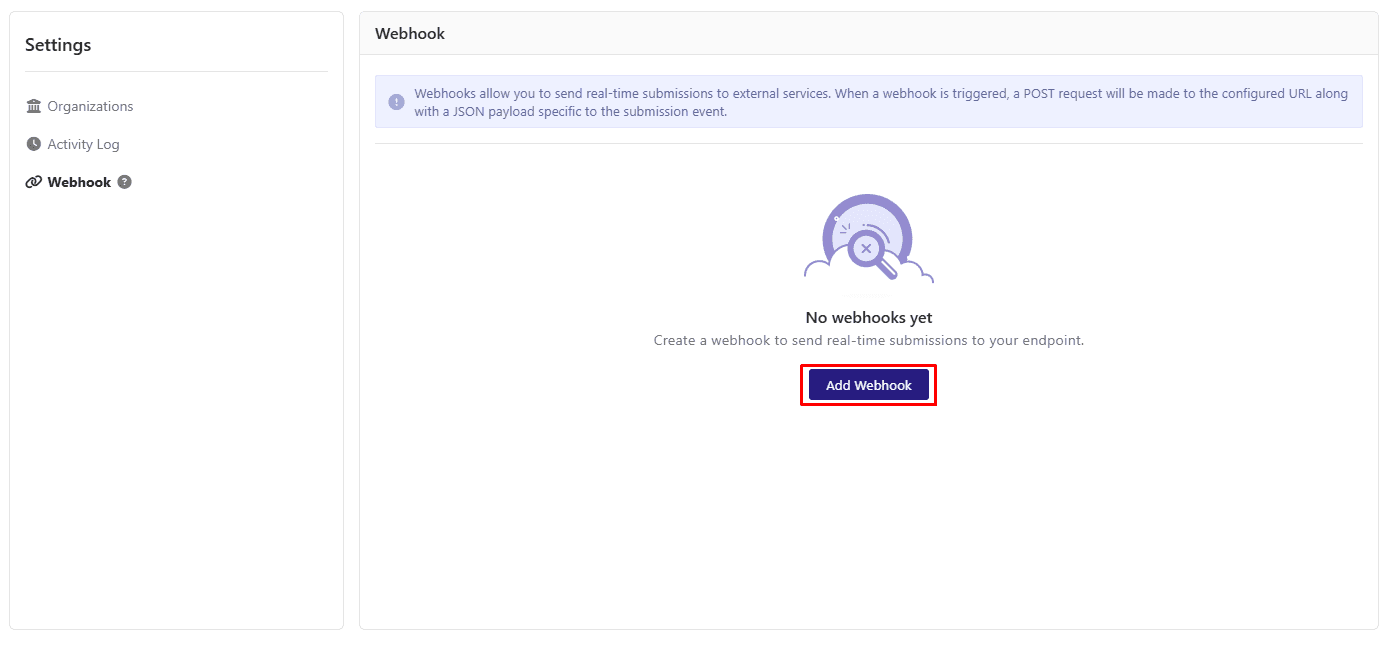
You will be redirected to User Settings → Webhook, where you can create and manage your webhook connections.
Step 3: Add a Webhook
In User Settings → Webhook, click the “Add Webhook” button.
A popup window will appear where you can enter the following details:
Webhook Endpoint URL – The URL where Quizify will send the webhook request.
Webhook Name – A label to help you identify the webhook.
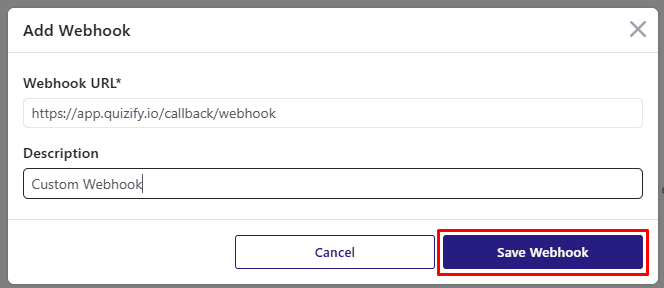
After entering the required information, click Save to create the webhook.
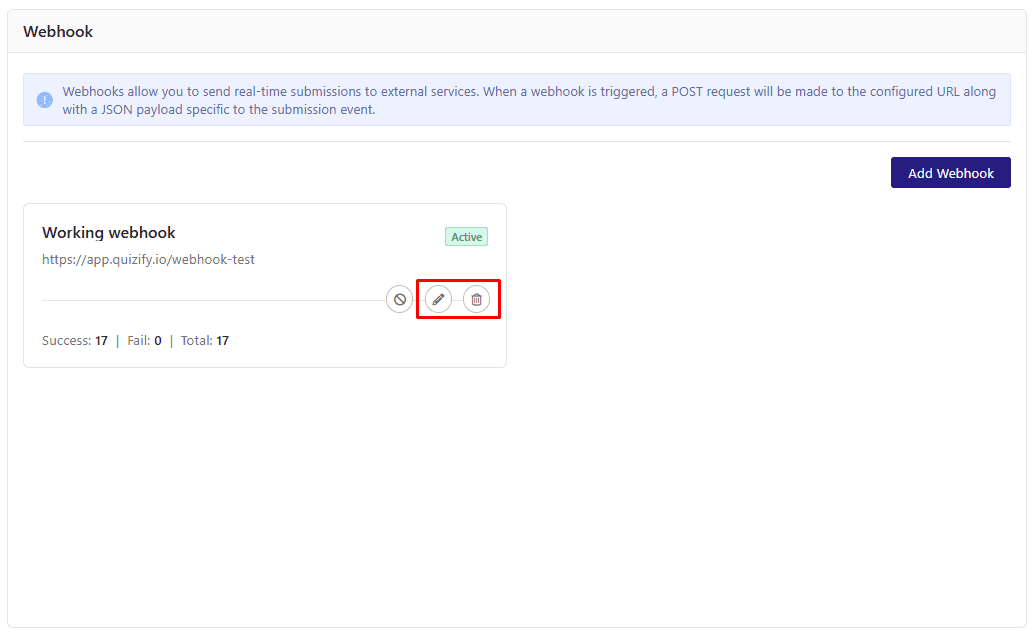
Step 4: Manage Your Webhooks
Once a webhook is created, it will appear in the webhook list. From here, you can manage your webhooks easily.
You can also edit the webhook details or delete the webhook if it is no longer needed.
What Data Is Sent Through the Webhook?
When a user submits a funnel in Quizify, a webhook event is triggered and a POST request is sent to your configured webhook endpoint. The request contains a structured JSON payload with detailed information about the submission.
The webhook payload may include the following information:
Event details (event type and version)
Funnel information such as funnel ID and title
Submission details including submission ID, timestamp, and completion time
User environment data such as IP address and device type
Responses to all funnel questions
Additional metadata related to the submission
Step 5: Deactivate a Webhook
To stop receiving submission events for a webhook, you can deactivate it at any time.
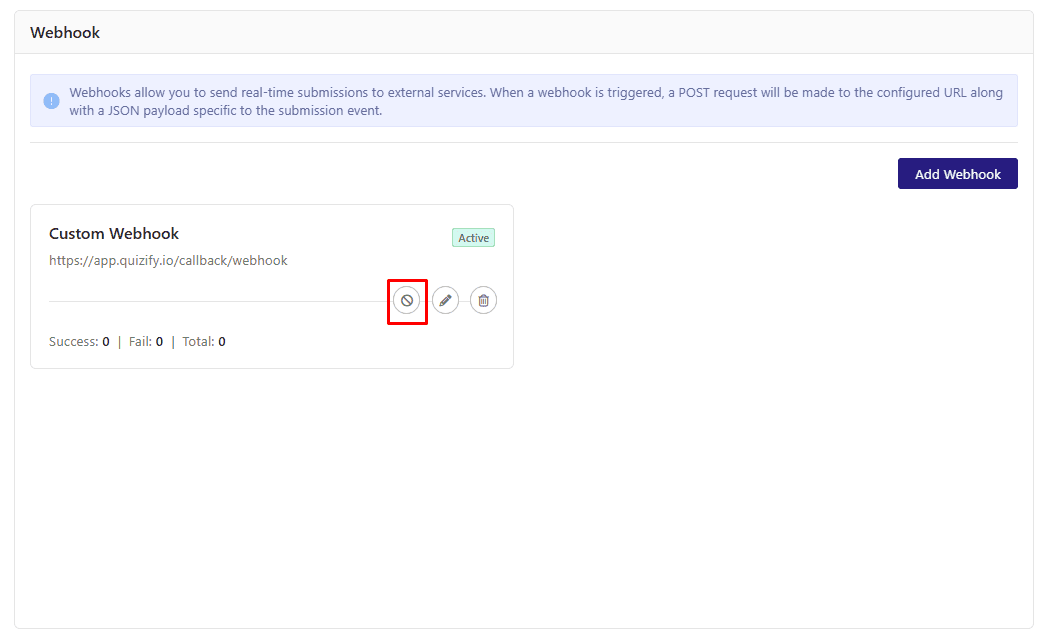
Go to User Settings → Webhook, locate the webhook you want to disable, and click the Deactivate option. Once deactivated, Quizify will stop sending funnel submission events to that webhook endpoint until it is activated again.
Final Thoughts
Webhooks provide a flexible way to receive funnel submission events from Quizify in real time. By connecting a webhook endpoint, you can automatically capture submission data and integrate it with your own systems, automation tools, or custom workflows. This allows you to process responses instantly and build seamless integrations based on your funnel activity.
Join our newsletter list
Sign up to get the most recent blog articles in your email every week.
Similar Topic