Connect HubSpot with Quizify
Integration
12 Min Read
HubSpot is a CRM and marketing automation platform. By integrating HubSpot with Quizify, lead details collected through your funnels—such as name, email, and other responses—are automatically synced to your HubSpot contacts, helping you manage leads, automate follow-ups, and run targeted marketing campaigns efficiently.
Step 1: Prepare Your Funnel
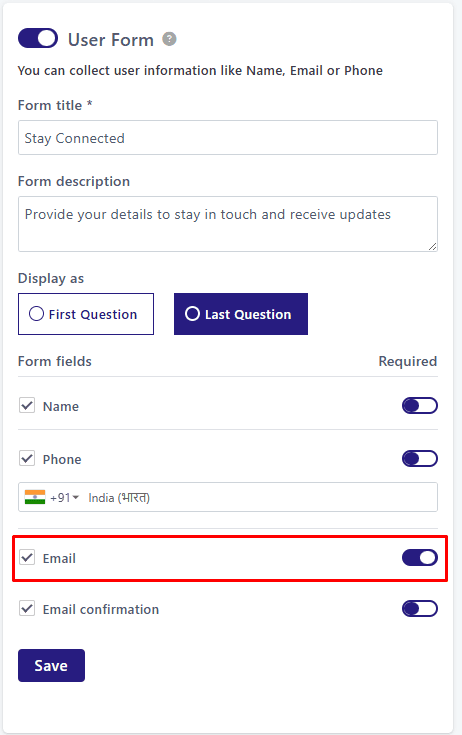
Start by creating a funnel in Quizify that collects user contact information. To use the HubSpot integration, you must enable the User Form in your funnel.
The email field is required for syncing data with HubSpot. When a user submits their email through the User Form, Quizify automatically creates or updates the contact in HubSpot.
For best results, we recommend keeping the email field required to ensure maximum lead collection from your funnel.
Step 2: Open HubSpot Integration in Quizify
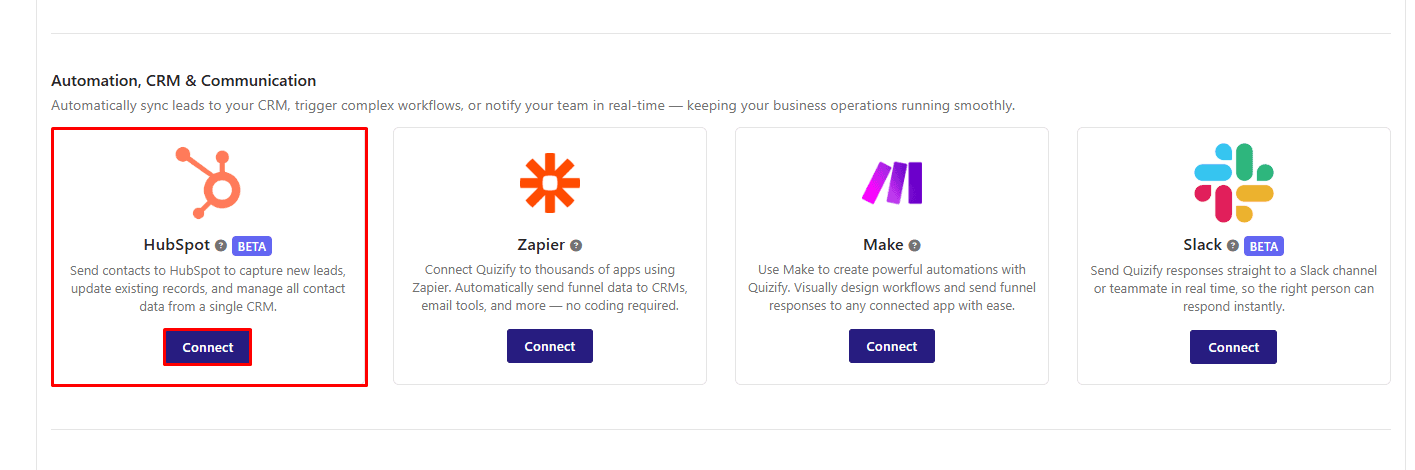
Go to the Integrations section in your Quizify dashboard.
Under the Automation, CRM & Communication category, find HubSpot and click Connect.
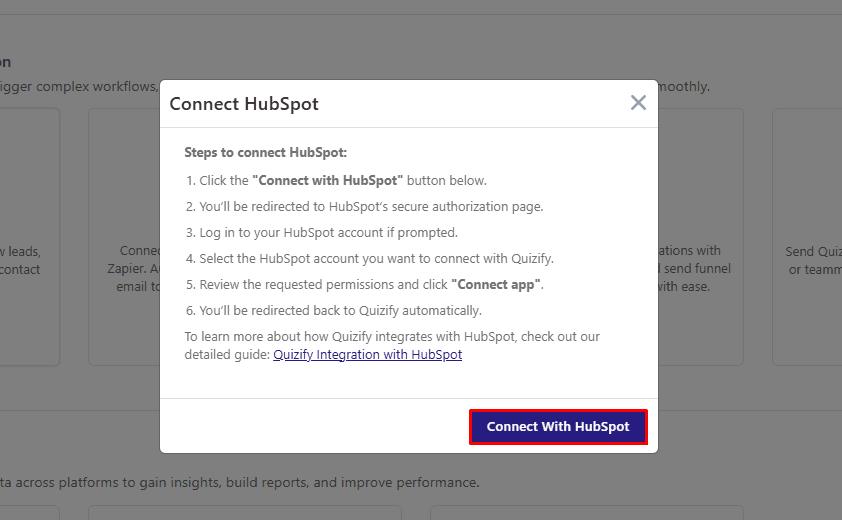
A modal will open asking you to connect your HubSpot account. Click the Connect with HubSpot button, and you’ll be redirected to HubSpot’s authorization page. Follow the on-screen steps to grant access and complete the connection.
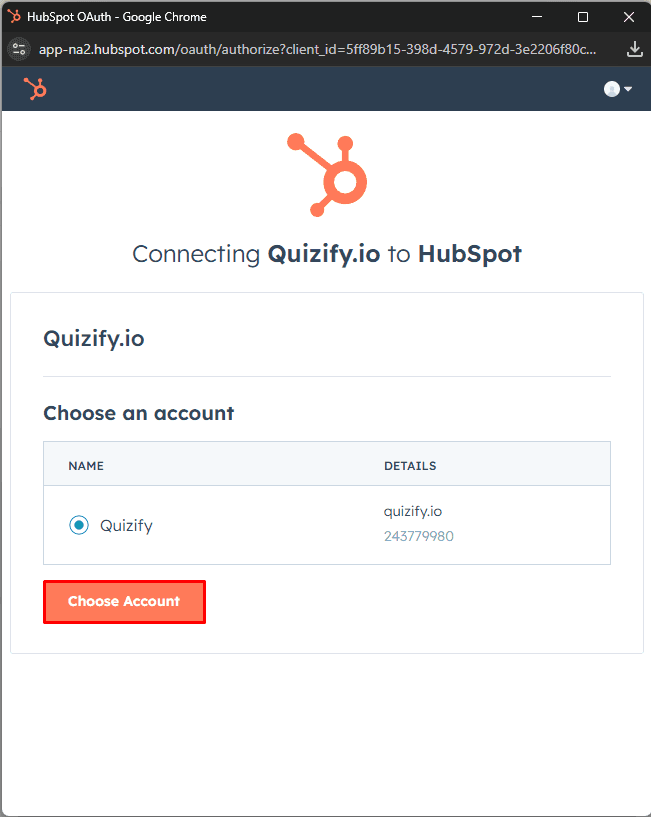
Step 3: Authorize HubSpot Account Access
Click Connect with HubSpot in Quizify. You’ll be redirected to HubSpot’s authorization page. Choose the HubSpot account you want to connect and review the permissions requested by Quizify.
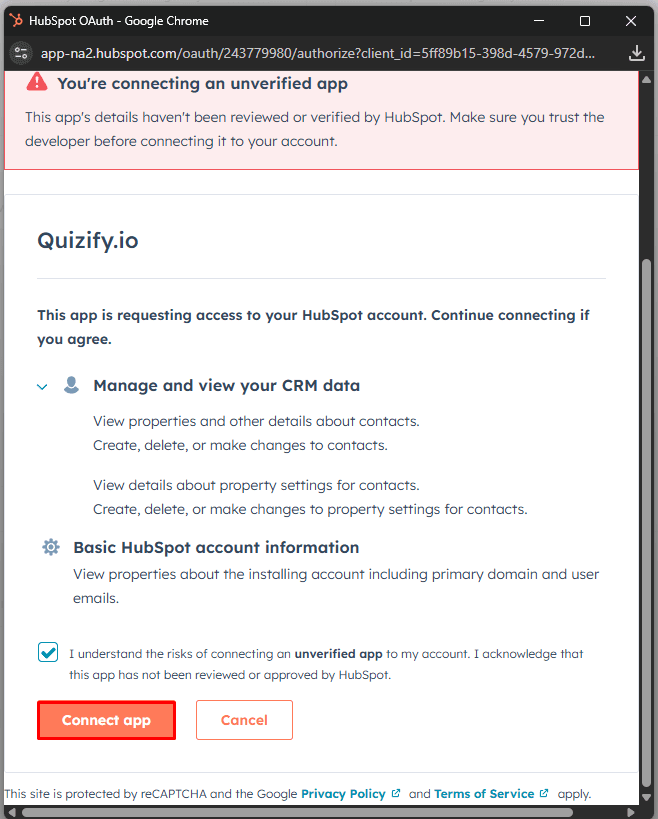
Click Allow to continue. Once authorized, you’ll be redirected back to Quizify and the integration will be connected.
Why We Need HubSpot Permissions
To ensure your funnel data syncs accurately with HubSpot, Quizify requests the following permissions:
Read Contacts – Allows Quizify to check existing contacts and prevent duplicate entries.
Create & Update Contacts – Enables Quizify to add new leads and update existing contact details, result values, and tags.
Write Contact Schemas – Allows Quizify to create or update custom contact properties required to store funnel data.
Once connected, Quizify will automatically sync lead data from your funnels to HubSpot.
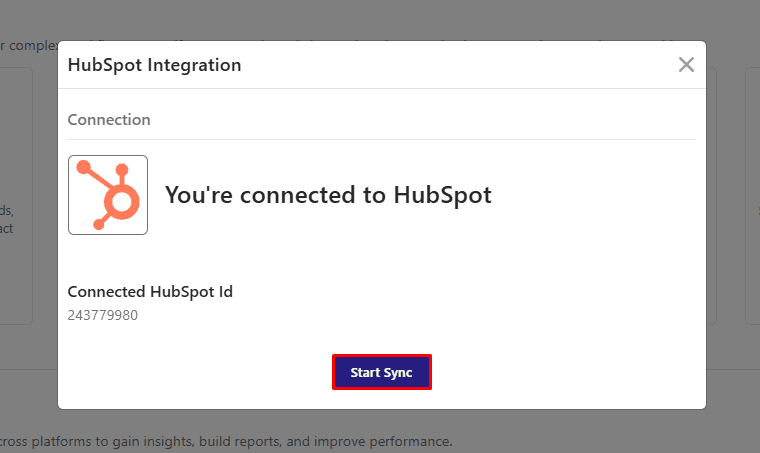
Step 4: Start Syncing Funnel Responses
After the connection is successful, Click Start Sync to begin syncing.
All new funnel submissions will now be synced automatically to HubSpot.
What Data Is Sent to HubSpot?
Quizify syncs the following data to HubSpot to help you segment users, trigger automations, and run personalized email campaigns:
Contact information
Address details
Website URL
Funnel result values
Answer tags
Funnel title
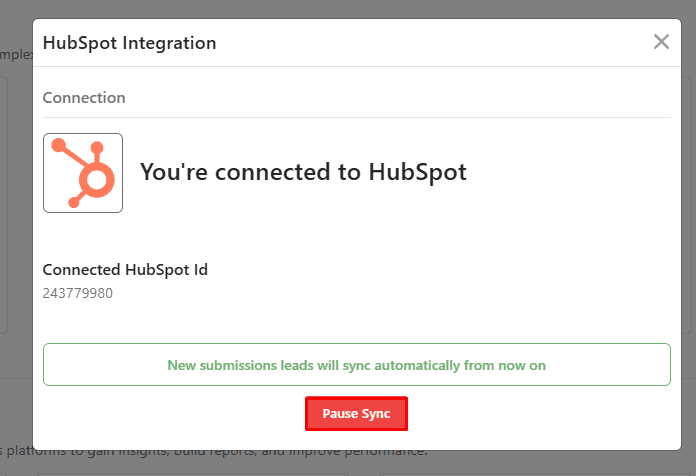
Pausing Your HubSpot Integration
If you want to temporarily stop syncing leads without disconnecting the integration:
Go to HubSpot Integration in Quizify.
Click Manage.
Select Pause Sync.
Syncing will stop immediately. You can resume syncing anytime by clicking Start Sync again.
Final Thoughts
Integrating HubSpot with Quizify makes lead management effortless. Quizify automatically syncs quiz responses — including contact details, tags, result values, address and website URL— directly into your HubSpot CRM. This removes the need for manual data entry and keeps your contacts organized and up to date in real time.
Join our newsletter list
Sign up to get the most recent blog articles in your email every week.
Similar Topic